How to build Proton Bridge on Asahi Linux


I recently switched my Macbook Air to Asahi Linux full time. Most of the apps I needed worked great, except a few that I had to have workarounds for. ProtonMail Bridge is one of them since they only offer x86-64 Linux support. So in this article, I will show you how to build it for ARM (aarch64) so that it works on Asahi.
Do you need ProtonMail bridge?
ProtonMail Bridge is a service that allows you to use your ProtonMail account with other mail clients like: Thunderbird, KMail, GNUmail, or others. It will run in the background and encrypt/decrypt your emails from Proton's servers to your local email client.
Note: It is only available to Proton Plus subscription members.
Building the app for aarch64
Because Proton open-sourced the app in 2020, You can get the full code for yourself and build it for whatever platform you need. We are going to build it for Apple Silicone which has an ARM processor on aarch64 architecture.
I haven't been able to get the GUI version running, but the cli version is more than enough for most people and what is what we'll do today.
1- Download the Code
Head over to the link below to the official GitHub repository of the app:

Then download the code as a ZIP file by pressing the green code button -> Download ZIP

You can also clone it if you know git, that way you can update it easily.
2- Extract it and open the terminal at that directory
On Dolphin, this involves right-clicking -> Extract Here. Then right-click inside the folder -> Open Terminal Here
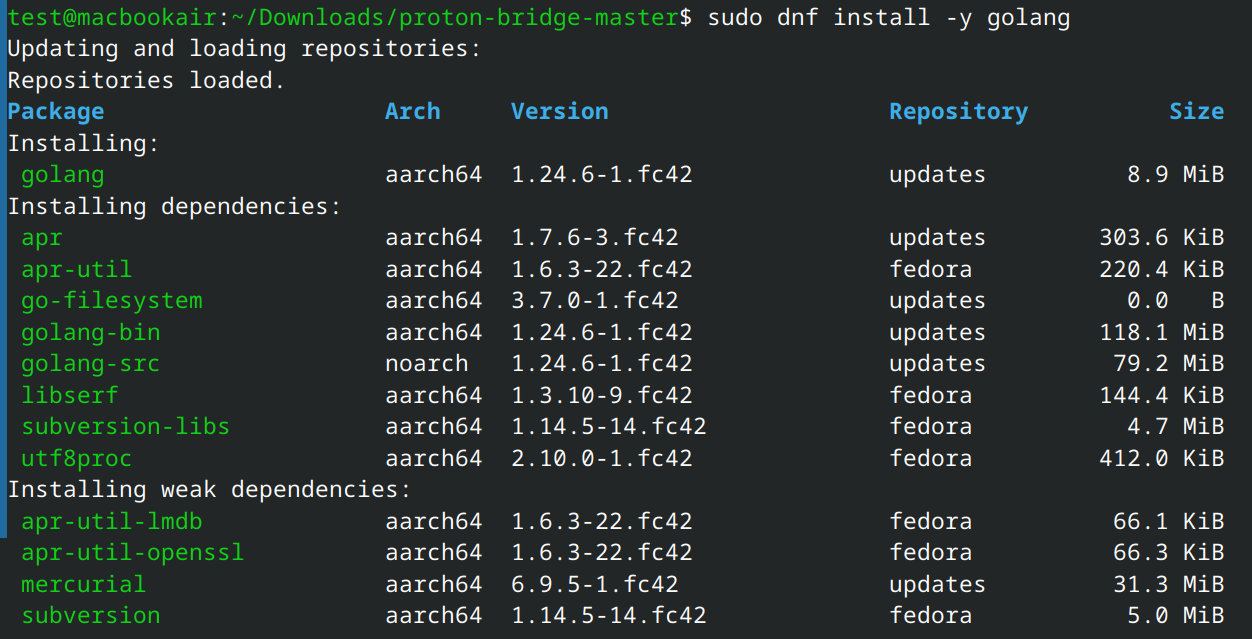
3- Install the dependencies needed
The dependency you need for building the cli version is Go. You can install it on Fedora by using the following command:
sudo dnf install -y golangUpdate Jan 2026: Proton have added FIDO2 support which added dependencies that don't ship with Fedora. You might have to install these by using the following command:
sudo dnf install -y libfido2 libfido2-devel fido2-tools libcbor-develWait for Fedora to install everything and then move to the next step.
4- Build the bridge and run it:
Now we are ready to finally build it, run the following command:
make build-nogui
And you should see the following:
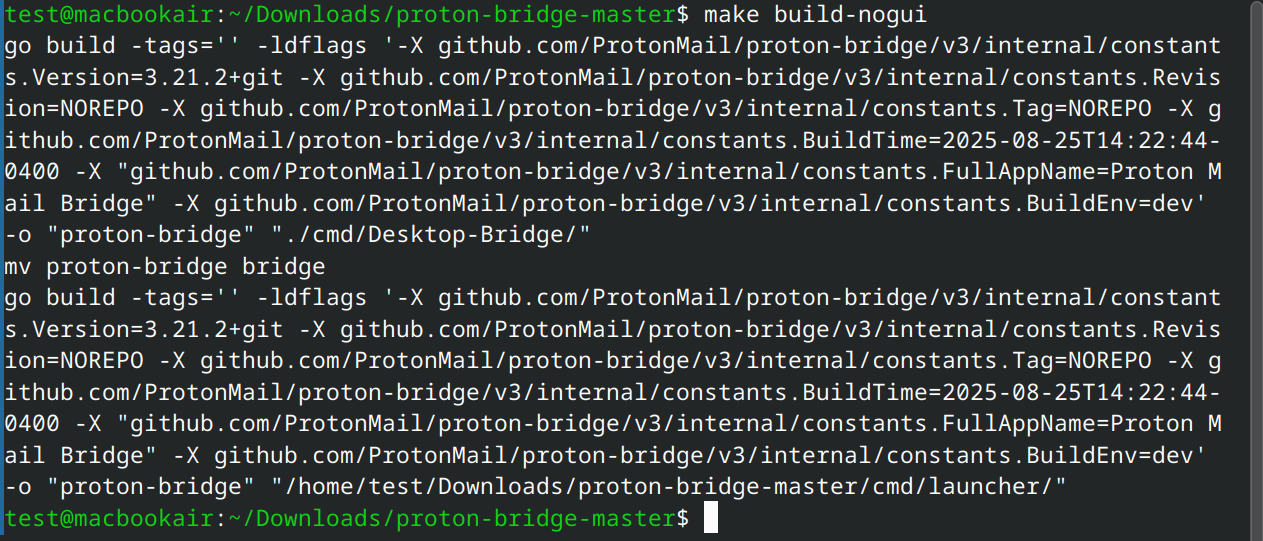
If you get errors like missing dependencies, your distro might have come with different base libraries, simply search what's missing and install it. (or ask an LLM if you are really lost)
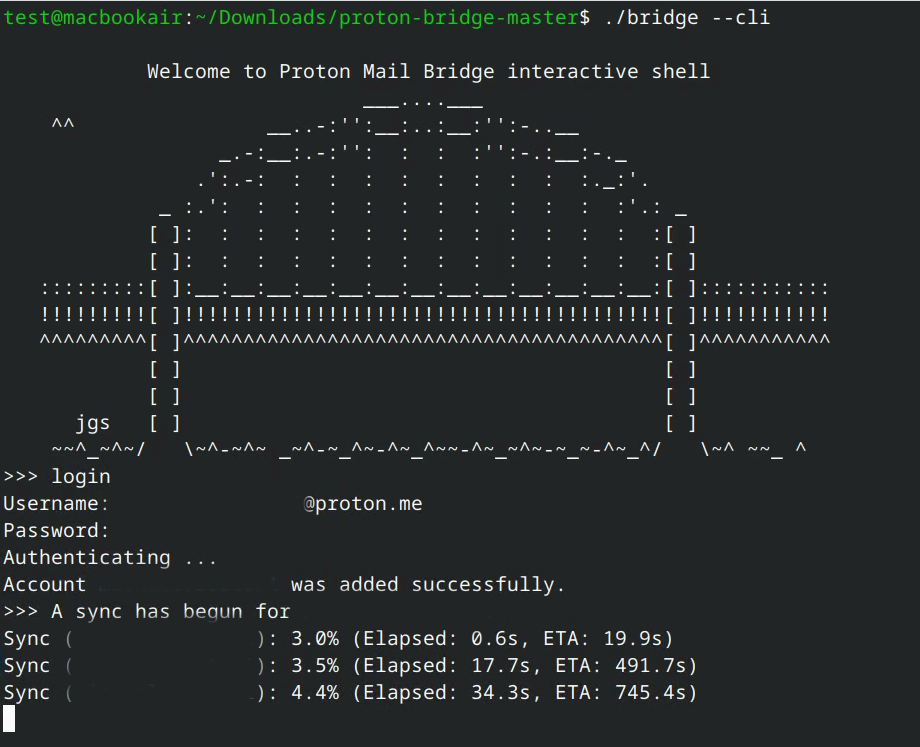
Now you can run the bridge for the first time using:
./bridge --cli5- Configure the bridge
All you have to do now is sign into your account. You do that by typing login and entering your password and it will start the sync and download all the messages
Once the sync is done, you can type info to get what you need for the email client:

Now you can add the account using the info above to your favorite email client.
Important: In your email client enter the password shown here and not your Proton password.
6- Configure it to run at startup
You most likely want the bridge running all the time in order to not miss emails, to do so we can added very easily in Fedora KDE by going into System Settings -> Autostart -> Add New-> Application
Then click on browse and find the bridge. If you have been following along, it will be in your Downloads folder then proton-bridge-master.
Finally, you just have to add an argument to the bridge. You can do that by clicking on see Properties.

Then in Applications, add the following to Arguments: --noninteractive
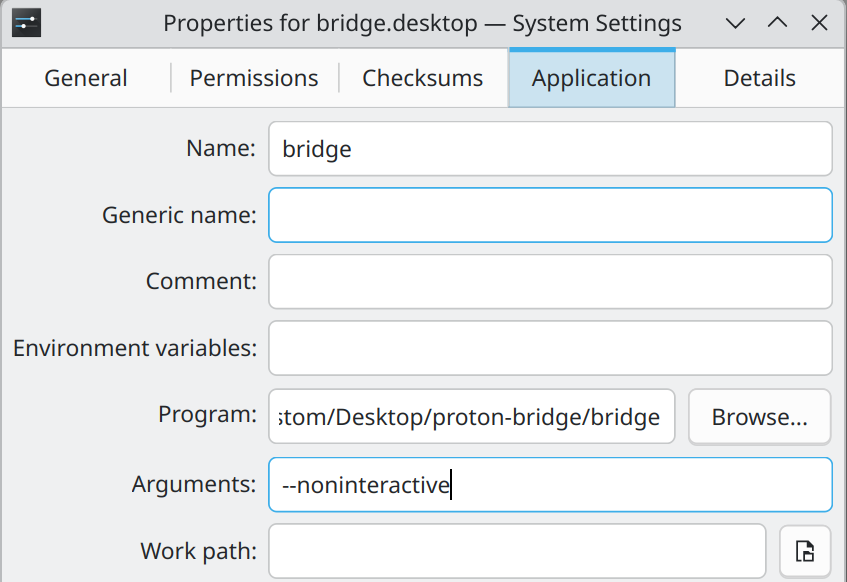
This will make the bridge run in the background without waiting for your input.